Skip to content

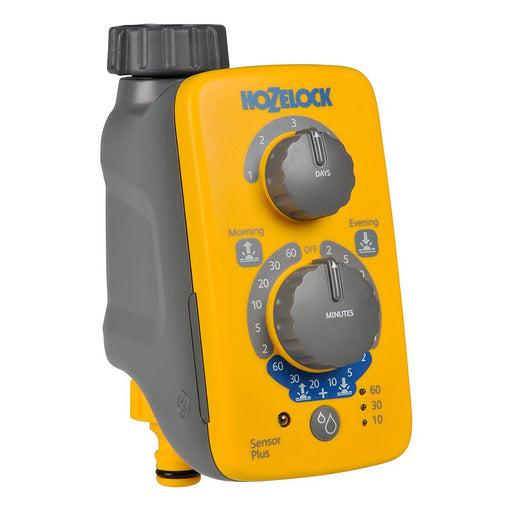
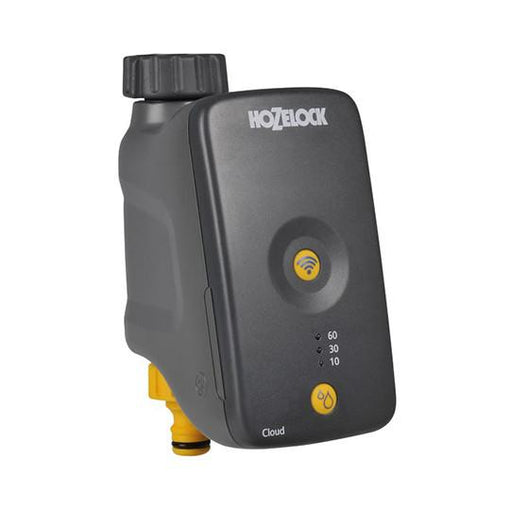
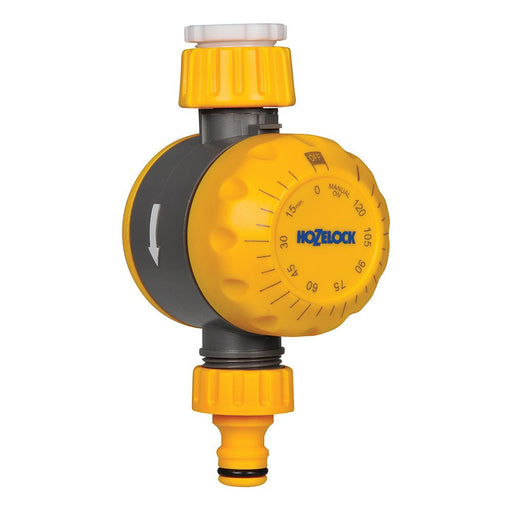
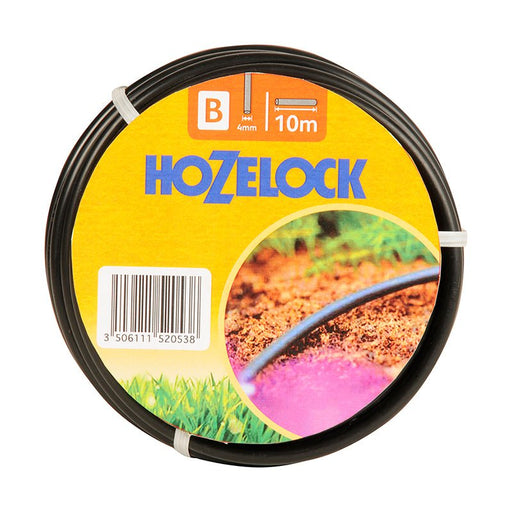
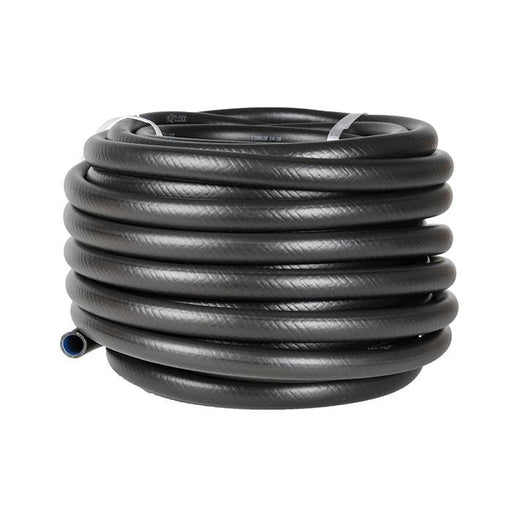
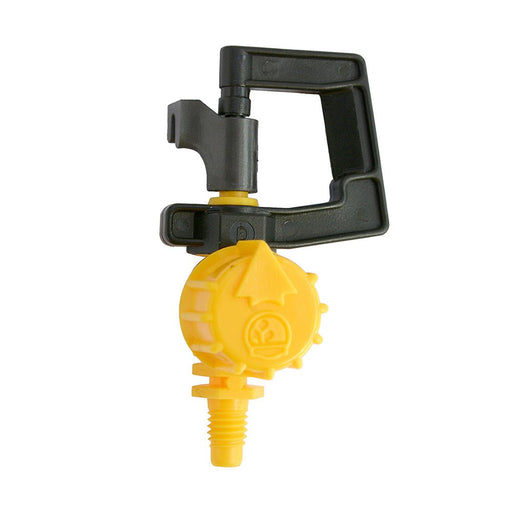
In this guide, we'll introduce you to the world of Hozelock Automatic Watering Systems - they save you time and help you conserve water, while ensuring your plants get the right amount of water they need.

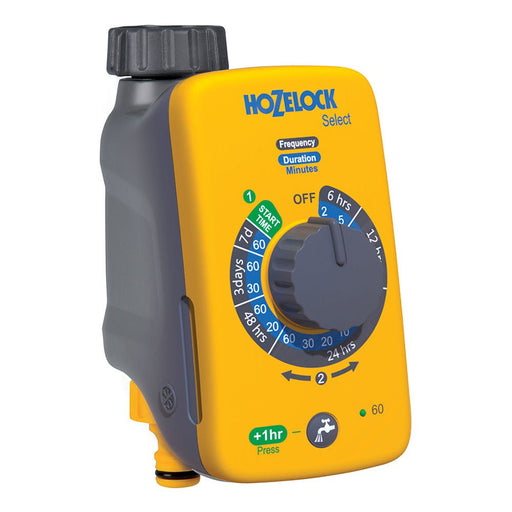
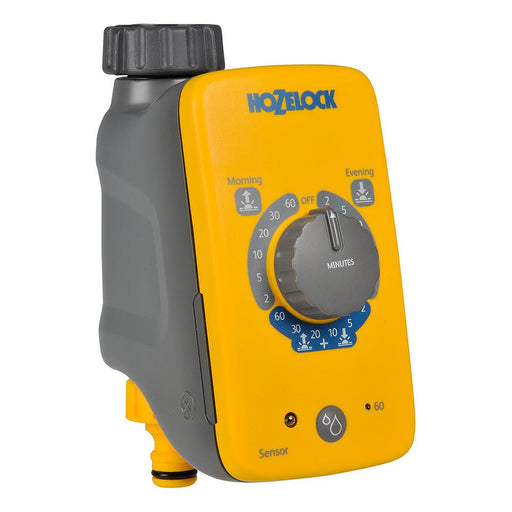
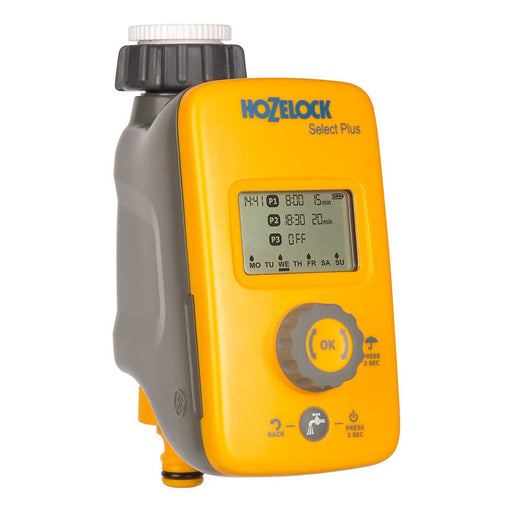
Follow this step-by-step guide on how to create your own efficient watering system using Hozelock's user-friendly and easy-to-install micro irrigation system. Additionally, we'll demonstrate how to make your watering system automatic by integrating it with a Hozelock water timer, allowing you to manage your watering schedule even when you're away from home.

Contents:

  1. What is Automatic Watering?
  2. Automatic Watering ABCD - The System
  3. A - Tap Connection
  4. B - Pipeline and Components
  5. C - Drippers
  6. D - Micro Sprays and Sprinklers
  7. Automatic Watering Kits
  8. Design and Installation

What is Automatic Watering?

Automatic watering is the method of irrigating your garden with a network of hidden supply pipes and emitters connected to your outside tap. When used in conjunction with a water timer, an automatic watering system can be scheduled to turn on daily. Systems can be installed in greenhouses, flower beds, plant containers, hanging baskets, and much more. If you have a plant that needs watering, this system can water it automatically.

Why use Automatic Watering?

Automatic watering systems save time and water while producing healthier, more vibrant plants. They deliver controlled watering directly to the roots, reducing water wastage and potentially saving you money on your water bills. These systems allow you to be away from home while ensuring your garden continues to be watered. With all of these benefits, it's easy to see why an automatic watering system is a wise investment for any gardener.

Automatic Watering ABCD - The System

An automatic watering system can be broken down into four simple steps, ABCD. First, you need to make a connection to a water source, usually an outdoor tap (A). From this source, you can also fit a water timer to automate daily watering of your irrigation system. Next, you need to create a network of supply pipes to act as the primary carrier of water around your garden (B). Run this to everything you want to water in the garden. Finally, you need to install emitters (outlets) that release the water. These can be drippers (C), or micro sprays and sprinklers (D). Let's walk through each of the steps in more depth.

A - Tap Connection & Control

A - Tap Connection & Control

The tap connection is the most important element of a garden watering system. It connects the watering system to the main water source. You need to use a pressure reducer to ensure the best performance for your watering system. If the water pressure in your system is too high, you'll find water being released inconsistently and may have problems with parts coming loose. If you plan to use a water timer, it needs to connected to the tap first, then attach the pressure reducer to the outlet of the timer. If you want to keep your watering system permanently attached to the water source, but also want to have a connection for other purposes (e.g. to wash your car) you can use a garden tap splitter to create multiple outlets from your tap.

Automating the Watering System

As we have already discussed, water timers automate the watering system completely. They save you time and make sure your plants are regularly watered, even when you're away on holiday or a business trip.

Hozelock's programmable water timers can be directly fitted onto an outside tap. No tricky electrical wiring is required as they are battery powered. Batteries typically last an entire watering season. Programming is easy, and other watering tasks have a manual override.

Hozelock Select Plus Controller - 2224

The Hozelock Select Controller Plus is an automatic water timer with a user-friendly LCD screen and a rotary push button for easy programming of up to three watering cycles daily. With each session customisable for up to 199 minutes and a rain delay function to pause watering for up to 7 days, it provides ultimate control for flexible watering.

Hozelock Sensor Plus Controller - 2214

The Hozelock Sensor Controller Plus is an innovative water timer with a daylight sensor that adjusts the watering schedule to start at sunrise and sunset. With watering options ranging from 2 to 60 minutes and a "Water Now" button for manual control, it's easy to adjust to changing weather conditions.

Hozelock Cloud Controller - 2216

The Hozelock Cloud Controller lets you control your garden watering from anywhere via your smartphone. Create watering schedules and remotely set, pause, and adjust them. The app also includes a weather summary and push notifications about weather changes.

B - Pipeline and Components

B - Pipeline and Components

The second step to installing an automatic watering system is to build the network of supply pipes. It is worthwhile planning the route your supply pipes will take before you come to lay anything out and cutting to size. There are two different sizes of supply pipe to choose from. 13mm supply tube is used to act as the primary carrier of water from the source. 4mm supply pipe is used to feed the water to the plants. All you need to cut the pipe is a Stanley knife or a sharp pair of scissors.

13mm Supply Hose System

As previously mentioned the 13mm supply pipe acts as the main carrier of water. Run this throughout the entire garden past everything you want to water. Use elbows, t-pieces and joiners to make the network. Use wall clips and pipe stakes to secure the pipe in place. The 13mm supply pipe can be buried up to 5cm in the ground or covered with mulch. Hozelock's 13mm tubing is supple, durable and UV resistant.

4mm Supply Hose System

A 4mm supply pipe is used to feed water to the plants from the 13mm supply pipe. It is highly flexible and kink, crush and UV resistant. It connects to the 13mm supply pipe with micro tube adaptors or reducing tees. The emitters (drippers, micro jets and sprinklers) connect directly to the end of the 4mm supply pipe. Use micro t-pieces and in-line connectors to create the network. Use stakes and wall clips to secure the pipe in place.

C - Drippers for precise watering

C - Drippers for precise watering

Drip irrigation is the most efficient method of watering by delivering a precise amount of water to the roots of plants, helping to prevent mildew and disease on leaves, in addition to reducing runoff and evaporation, saving water and improving the health of your plants!

Drippers are versatile and can be used in pots, hanging baskets, or to water shrubs in your flowerbed. Drippers with barbs can be inserted directly into the 13mm supply tube or at the end of 4mm microtube. Drippers with integrated pressure compensating technology guarantee a consistent flow rate.

D - Micro Sprinklers for watering large areas

D - Micro Sprinklers for watering large areas

Micro sprays and sprinklers deliver a fine spray and droplets over a larger area than drippers and with a higher flow rate, watering several plants from just one emitter. Ideal for flower beds where plants are tightly packed together. Compared to standard sprinklers, micro sprinklers promise less run-off, saving water.

When planning an irrigation system, it is advised not to mix micro sprays and sprinklers with drippers. This is because sprays and sprinklers need to be in operation for about half the length of time a set of drippers need to be. If we were to mix and match the two, we would either be overwatering with the micro sprinklers or underwatering with the drippers.

Hozelock Automatic Watering Kits

Hozelock Automatic Watering Kits

These Hozelock automatic watering kits are the perfect introduction to micro-irrigation. The kits include everything you need to start your irrigation system. We also have a wide range of Hozelock products to be bought to extend these systems to meet your requirements. Read below to learn more specifics for each automatic watering kit available.

Shop for Hozelock Automatic Watering Kits

Hozelock Pro 25 Pot Automatic Watering Kit - 2804

This is the most advanced kit and comes with the Hozelock Select Controller. It utilises both 13mm supply pipe and 4mm supply pipe to create a network in your garden. This kit is ideal for larger systems and for future expansion.

Hozelock 20 Pot Automatic Watering Kit - 2803

This automatic watering kit features the Hozelock Select Controller and is suitable for smaller systems. It includes 4mm supply pipe and is ideal for watering pots, containers and hanging baskets.

Hozelock 15 Pot Automatic Watering Kit - 2802

This is the most straightforward watering kit Hozelock offer and provides gardeners with a quick and easy method to set up a simple watering system for patio pots, hanging baskets and greenhouse plants.

Design and Installation

Follow the simple steps below to plan a tailor-made watering system and create a shopping list of parts. Even if you don't build exactly to plan, you will have enough information to purchase the components you need.

You need plain paper, graph (squared) paper, a pencil, some coloured pens and a long tape measure. Use plain paper to sketch the area where you are going to build the system. Note the dimensions as you measure. Transfer the measurements to the squared paper afterwards.

1. Measure (preferably in metres and centimetres) and mark on your sketch:

  • The fixed elements - house, outside tap etc.
  • Distance from the outside tap to start of system.
  • Length of fences, walls, beds where supply tube and micro tube will run.
  • Key planting areas - container groups, thirsty and precious plants, seedlings etc.
  • Any obstacles, e.g. paths or driveways.
  • Height of fence panels, walls etc. if hanging baskets are to be watered.

2. Carefully transfer your measurements to the squared paper. Depending on the size of the area, use one of the following scales:

  • 1cm square = 0.50 metres (1:50)
  • 1cm square = 1 metre (1:100)

3. Draw the supply tube, showing angles and joints for connectors.

4. Plan in flow control valves where supply tube is likely to be longer than 50m, or use two water timers and a four-way tap connector.

5. Using a different colour, show the lines of micro tubing.

6. Mark the outlets, using different coloured pens for each type (see earlier for table of drippers).

7. Count up the outlets, connections, fixings and length of tubing and complete your shopping list.

Calculating the Capacity of your system

With the tap fully on, fill a bucket and time the number of seconds it takes to fill. Multiply the number of litres your bucket holds by 3600, and divide by the number of seconds it took to fill. This will give the maximum flow rate per hour.

Each outlet has a flow rate. For example: Micro sprays use 55 litres/hour, therefore with a maximum flow rate of 2160 l/h, the maximum number useable is 39 (2160 ÷ 55).

Just ask, we're really friendly

If you're really stuck and need more advice, you can always get in touch with one of our experts to discuss your needs. Get in touch either by phone or email.